Iím beyond excited about the additions weíve made during the first two phases of this revive project. My trusty old TRX has served me well but sheís been in bad need of some maintenance, as well as a few key upgrades that Iíve been holding out on making. So far weíve improved the traction control via new tires and wheels from Goldspeed and GPS Offroad Products. Renthal provided us with a new chain and sprocket set to replace the original ones that have been holding on since 2005 as well as a new set of their Fatbar handlebars. Streamline came through in a big way by sending us one of everything they make, from grips to levers as well as a full set of brake lines, pads and rotors.
Despite all the new products and the shiny, anodized aluminum, I havenít really done anything to improve the look of the quad. In this phase weíre going to make some much needed improvements to the appearance of the quad, all while adding some additional protection for the rider.
Pro Armor: Two parts protection, One Part Style
As the name would suggest, Pro Armor is in the business of protection. Whether you ride an ATV or a side by side, there are certain modifications you can make to not only protect yourself but your machine as well. I grew up trail riding in the high desert of Central Oregon where rocks and trees have a tendency to appear from out of nowhere. For that reason, a durable skid plate was one of the first investments I made in every quad Iíve owned.
Previous Revive Project Stories
Revive ATV: A ďHands OnĒ Approach
Because I already had a Pro Armor full chassis skid plate on the project bike, I decided to give the fine folks at Pro Armor a call and see if they would like to come on board to work with us on protection. After exchanging a few phone calls and emails, a great big box showed up on my doorstep from their headquarters in Riverside, California.
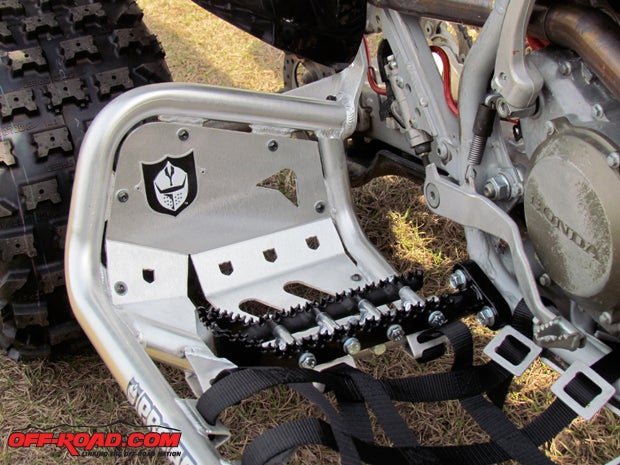
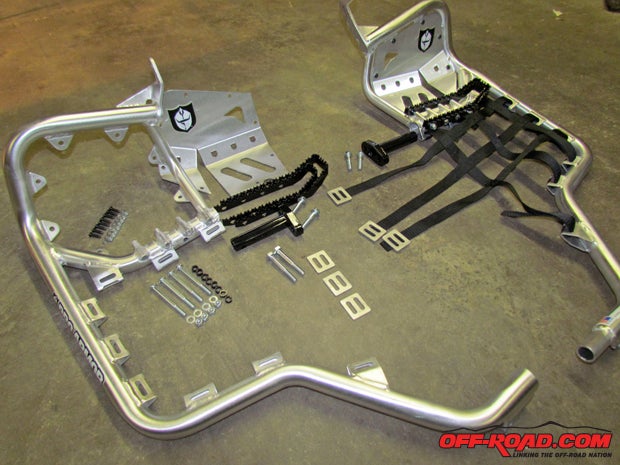
Although Iím mostly just a pleasure rider these days, Iíve grown accustomed to the look and feel of having a wide set of nerfbars as a little bit of added protection. Iíve had a foot slip off the peg more than once and itís a painful ordeal every time. Back when I used the quad for freestyle, it was imperative to have that extra platform just in case I missed the footpeg on my way back from a trick.
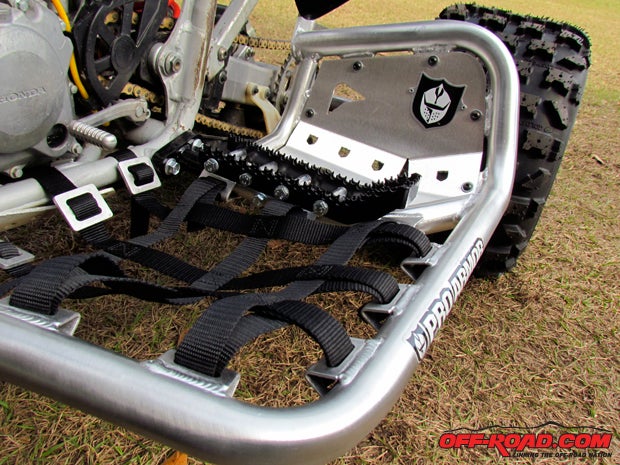
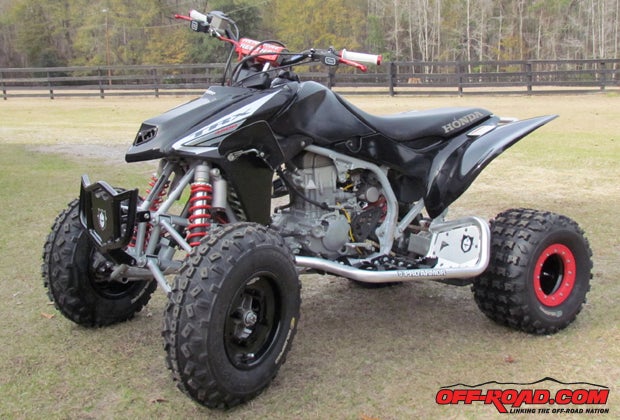
Pro Armorís Revolution nerfbars with integrated heel guards are very impressive. They offer a wide platform for extra protection and ensure that you wonít get tangled up with a tree or another racer. There are two options for heel guards; one as an aluminum plate and one with netting. Iíve used aluminum heel guards before and have had success with them but some people swear by the nets. I also prefer the look of the aluminum heel guards so it worked out well that thatís what Pro Armor sent.
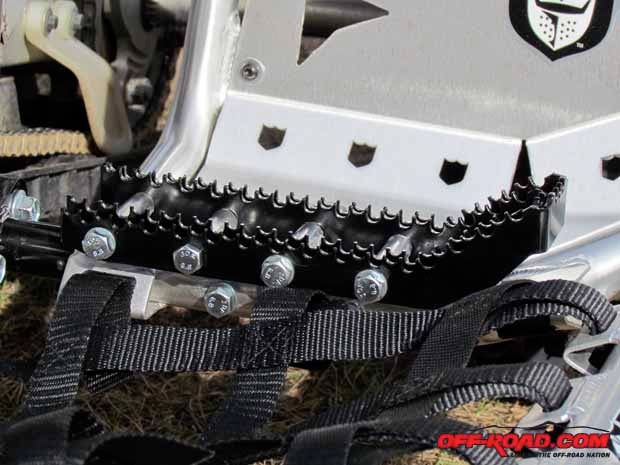
Probably the most impressive feature on the Revolution nerf bars are the integrated foot pegs. Almost double the width of OEM foot pegs, Pro Armors pegs offer four rows of aggressive teeth to provide maximum grip. Just in case your foot does slide a bit, the pegs are turned up at the end to help give you a little extra bit of grip.
If youíve ever installed nerfbars you know that getting everything to line up and fit correctly can be a real pain. The only issue I had was getting one of the aluminum heel guards to fit inside its bracket. After taking off a couple edges with a grinder the bracket fit well enough for me to install the hardware, which pulled everything into place.
Out front I went with Pro Armorís black Dominator bumper. In my opinion, a bumper should be every bit as eye-catching as it is functional, and the Dominator bumper delivers in that itís durable enough to protect the front of the quad in the event that I run into a tree (which has been known to happen) but still offers a bit of edgy aftermarket flair. Although the nerfbars are polished, I really like the black finish to compliment the rest of the quad.
Plastic Surgery (Pun Intended)
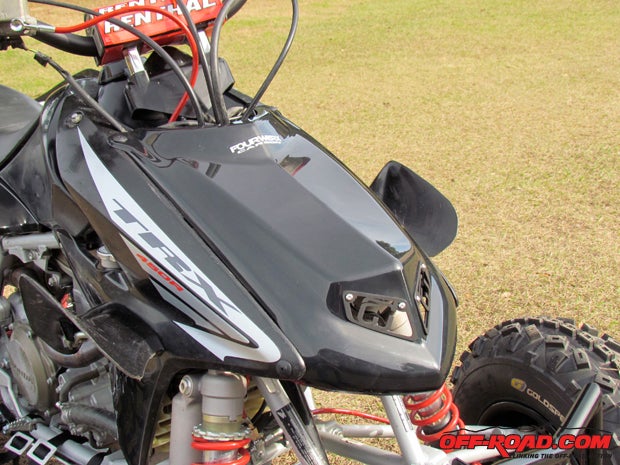
Maybe itís the freestyle guy in me, but I think an ATV should look every bit as good as it performs. The TRX450R is a good-looking machine in stock form but I wanted to do something to get rid of that completely stock look. For that, I turned to Fourwerx Carbon for a new front hood, and without even installing it on the quad I was already impressed.
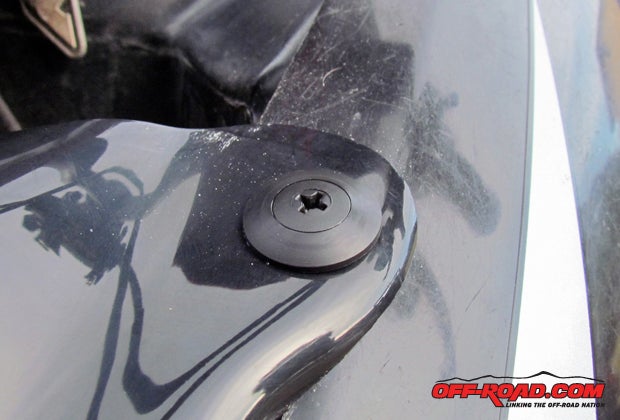
Fourwerx makes a variety of aftermarket titanium and carbon-fiber components designed to dress up the look of any ATV. I opted to go with the standard black plastic hood since the rest of the quad is black. Fourwerx plastic hoods are made of durable, injection-molded plastic and everything you need to install it is in the kit. I was very impressed with the Philips head pushpins, as I frequently damage the stock ones since thereís no easy way of removing them short of prying them out with a flathead screw driver.
The plastic hood, complete with aluminum grill inserts, greatly improves the look of the quad. If there is any downfall, the hood does require the removal of the front headlight assembly. That wasnít an issue for me since I canít remember the last time I rode at night, but if you do like using your headlight this hood probably wonít work for you.
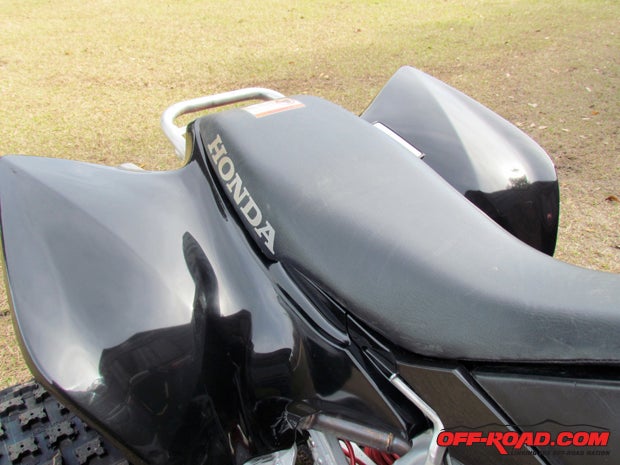
The front fenders (or whatís left of them) are in great shape with no cracks or major nicks, but the rear plastics were a whole different story. Between the grab holes I cut way back in the day to the cracks, scuffs and a mess of peeling stickers, the rear fenders just needed to be scrapped. There are a few companies that make aftermarket plastic for ATVs, but since I was only replacing the rear fenders I just ordered another set of the OEM black rear fenders and called it good. New plastic does wonders for the look of a quad and the mirror-black finish is so nice, Iím almost afraid cover it up with graphicsÖ almost.
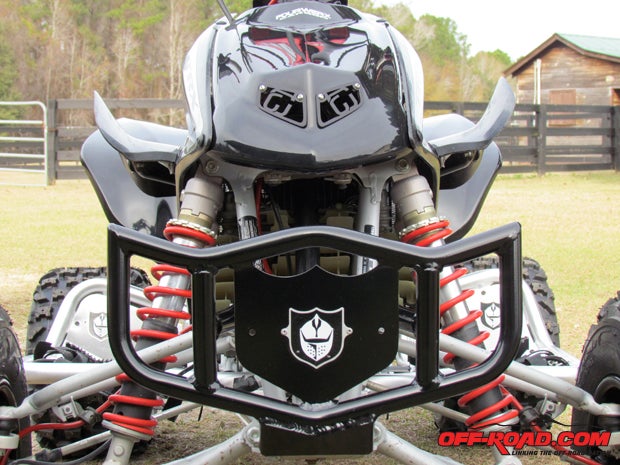
After three phases, the quad is finally starting to look like something special. Iíve got a few more tricks up my sleeve to wrap up the project and Iím really starting to get the itch to go ride. Stay tuned for the final build and ride review in the next few weeks.
Previous Revive Project Stories
Revive ATV: A ďHands OnĒ Approach


 Your Privacy Choices