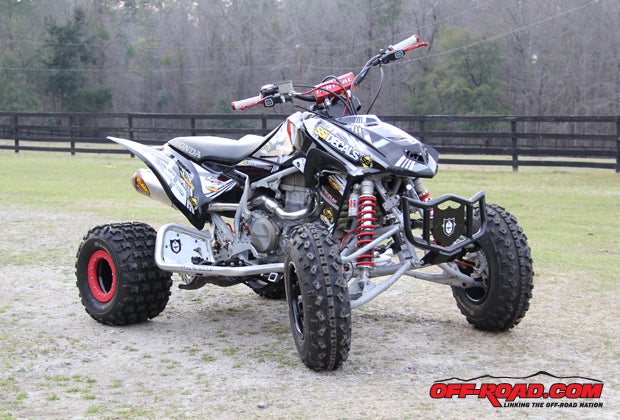
From beginning of this build, weíve stated that the machine in question was in need of some TLC. By and large the quad ran just fine, but if you were to look closely you would find a lot of things broken or just plane worn out, lending to an overall pretty clapped-out ATV. The goal from the beginning wasnít necessarily to make this a fire-breathing, moto-winning race machine, but to take something old and tired and breathe new life into it.
Over the last two and a half months, weíve added a host of new products to help with the overall feel, protection and performance of the quad, as well as replaced several wear items that arenít necessarily flashy but were in bad need of replacing. Now it was time to turn our attention to finishing the renewed appearance of the quad and giving it a bit of a boost.
40 Years of Fast
An aftermarket exhaust is usually one of the first modifications any user makes to squeeze a little extra horsepower out of their ATV. If Iím honest, I canít stand the way most stock mufflers sound, so changing the sound of the quad is every bit as important to me as adding a few extra ponies. WellÖ almost.
Previous Revive ATV Project Stories
Honda TRX450R Revive: Pro Armor and Fourtrax Upgrades
Revive ATV Project: A ďHands OnĒ Approach
Honda TRX450R Revive Project: Traction Control
After 40 years in the exhaust business, FMF is on top of the aftermarket exhaust world and they know a thing or two about creating power. FMF has won countless championship on both two and four wheels, and they agreed to come on board I was thrilled.
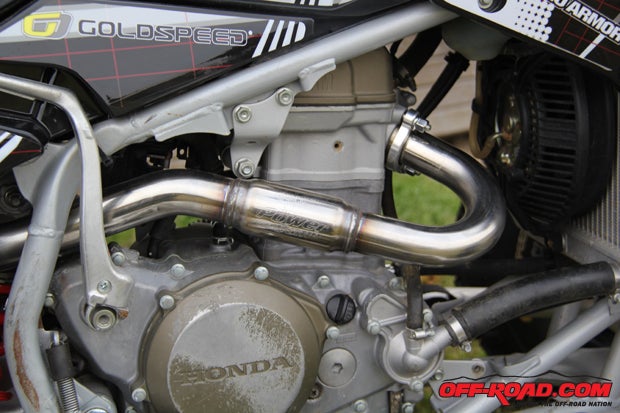
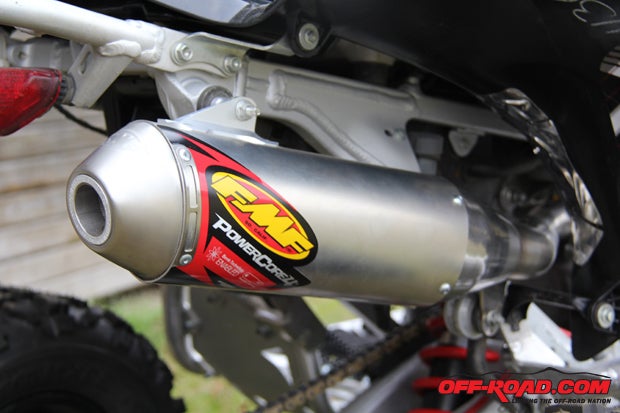
FMF supplied us with a Power Bomb header and their popular Powercore 4 silencer. The silencer comes with a US Forest Service-approved spark arrestor, which is important to me as most trail riding locations require one. As far as installation, I donít think Iíve ever had an easier time installing a pipe. All of the mounting brackets lined up perfectly and I really appreciate that the mid-pipe doesnít come anywhere near the rear fender. Iíve had more than one set of fenders ruined because the pipe passes through the frame and comes into contact with the fenders. Iím confident that wonít be an issue.
Facelift
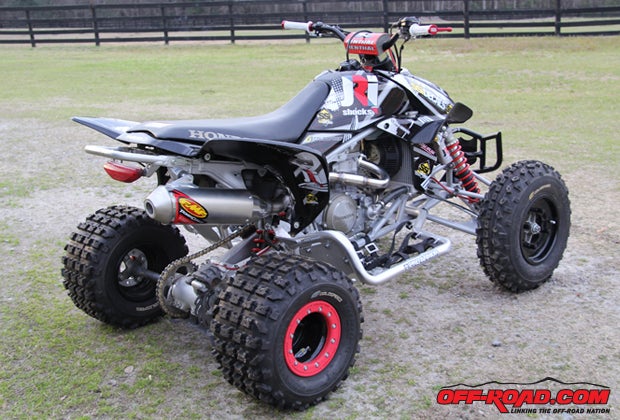
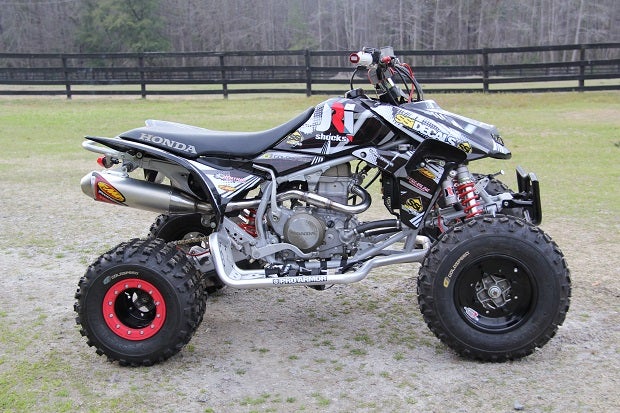
Someone once asked me if Iím an ďall show, no goĒ type of guy. Maybe itís the freestyle guy in me, but my attitude is, as long as I can get where I want to go, I want my ATV to look dang good getting there. The new front hood from Fourwerx Carbon and shiny new black rear fenders made a huge difference, but with all of blank plastic, the quad still looked a little bit naked. As a final touch, and as a way of displaying all the companies that supported this build, SSI Decals supplied us with a super trick graphics kit that eliminates any idea that this is just another stock TRX.
SSI Decals is one of the leading manufacturers of custom graphics kits, with offerings for everything from ATVs and UTVs to dirt bikes and snowmobiles. Theyíll even wrap your vehicle and print you banners to hang in your pit.
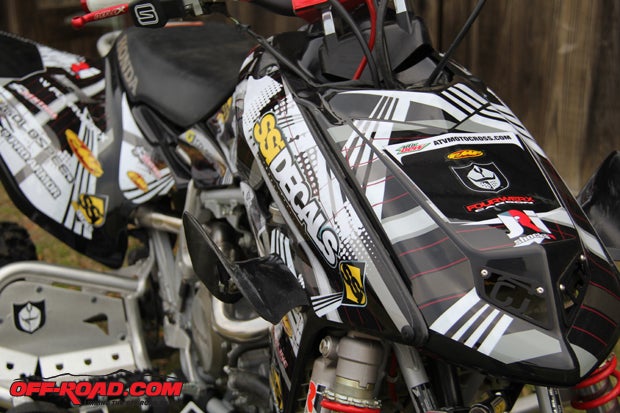
After browsing their website and finding a design that I liked, I picked a color scheme and they went to work. SSiís website really makes the process easy as they ask you all the important questions. You can choose the primary and accent colors as well as which logo goes on each specific location of the quad. Once submitted, their design team put its together and gets back to you for revision.
If youíve never installed graphics before, I donít recommend trying it by yourself the first time. Itís important that you clean the plastics really well and youíll want to drain and air out your fuel tank. The decals donít exactly lie contour to the shape of the fenders, so take your time and use a heat gun or a hair dryer. Just donít heat the graphics too much as they can stretch or even melt.
Shock Factor
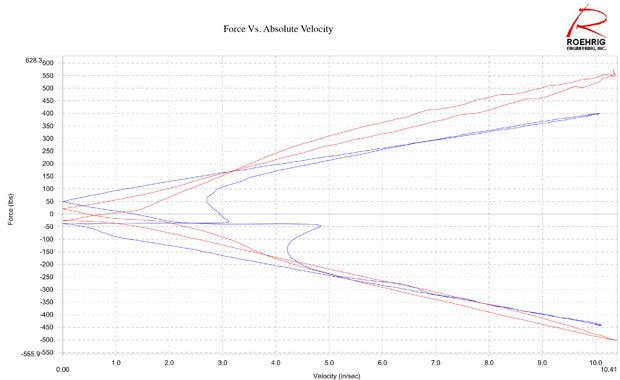
Originally I had kicked around the idea of doing a complete long travel kit but considering Iím not racing and the stock suspension served me just fine during my freestyle era, I felt like it would be a little overkill. Instead I settled for just servicing the stock shocks, and because I work for JRi Shocks I had the opportunity to bring them in, put them on the dyno and see just exactly what kind of shape they were in.
It turns out for whatever reason, my rear shock was providing zero dampening up to a certain point. As you can see in the graph at a velocity of 3 inches per second, the shock would suddenly start working. This could be caused by a number of things, most likely low on fluid or possibly a loose jam nut that wasnít holding the shims tight against the piston.
After changing the oil, inspecting the seals and cleaning the shocks up, the curve is much smoother and the dyno shows that the shock damper is working in its entire stroke. It was actually really cool to be able to pull the shock apart and see exactly how it works and the heavy black oil I poured out was a surefire indicator that the shocks were in bad need of being serviced.
Finishing Touch
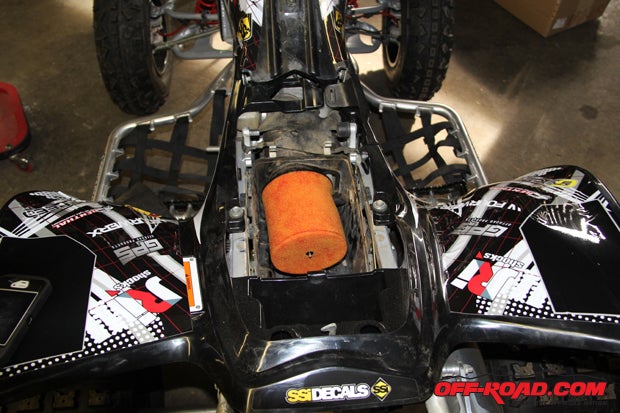
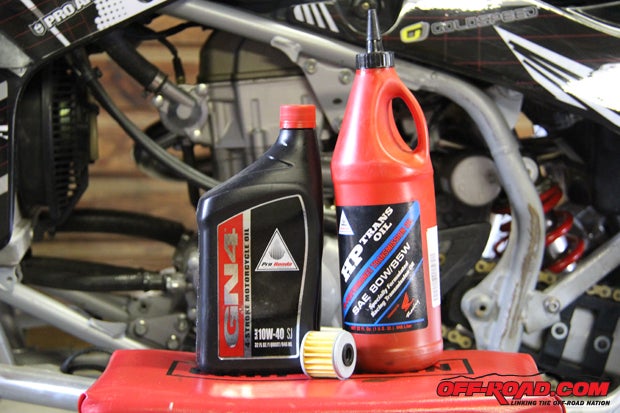
A few final improvement that I made were replacing the old dirty and torn airfilter and changing the oil. While I may have neglected this ATV a bit over the years, I always made sure my air filter was clean and I changed my oil every few rides. This was actually the original air filter so after eight years, it was definitely time for a new one.
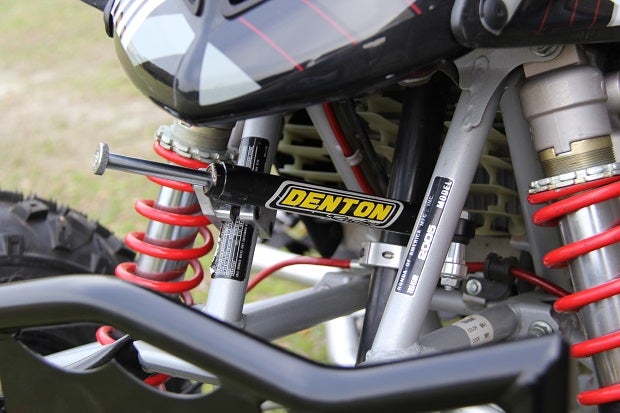
When a friend of mine caught wind that I was working on a project he graciously sent me over an almost new Denton Racing stabilizer that he had sitting in his shop. Itís been a few years since Denton Racing was in business but Iím all for free products and the stabilizer is nice insurance for when I hit the trails.
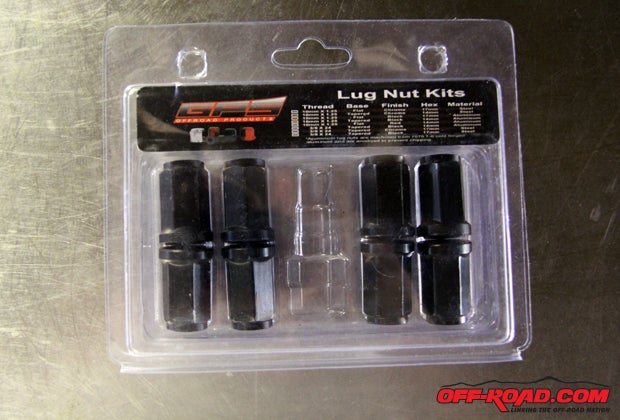
Last but not least, GPS Offroad Products sent me a set of their ultra lightweight aluminum lugnuts. Most after market wheels, like the Goldspeed wheels we installed, require a flat lugnut. Rather than add a washer and just turn the tapered lugnut around, the flat lugnut fits snugly and these aluminum lugnuts look much better than stock.
Previous Revive ATV Project Stories
Honda TRX450R Revive: Pro Armor and Fourtrax Upgrades
Revive ATV Project: A ďHands OnĒ Approach
Honda TRX450R Revive Project: Traction Control


 Your Privacy Choices